In the world of visual communication, a sign is more than just information – it’s a first impression. Whether you are creating a minimalist logo for a high-end boutique, a rustic welcome sign for a wedding, or functional wayfinding for a corporate office, a laser cutter is the ultimate tool for the job.
Laser technology allows you to move beyond basic rectangular boards. It gives you the power to play with intricate silhouettes, layered dimensions, and mixed materials.
Here is your guide to creating high-impact custom signs that stand out.
1. Choose Your “Hero” Material
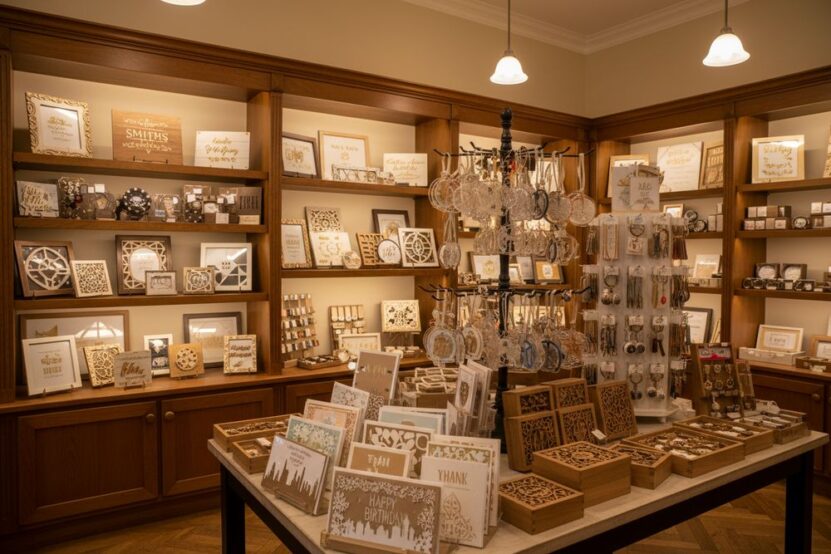
The secret to a high-impact sign often lies in the substrate. While plywood is a classic, the modern signage market rewards experimentation.
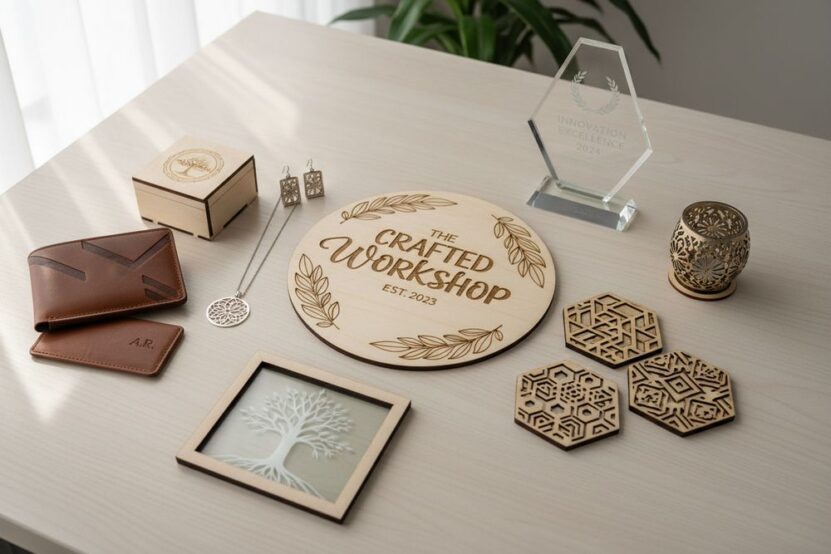
- Acrylic (The Modern Standard): Available in gloss, matte, frosted, and neon. Use Cast Acrylic for the cleanest engraved “frost” and polished edges.
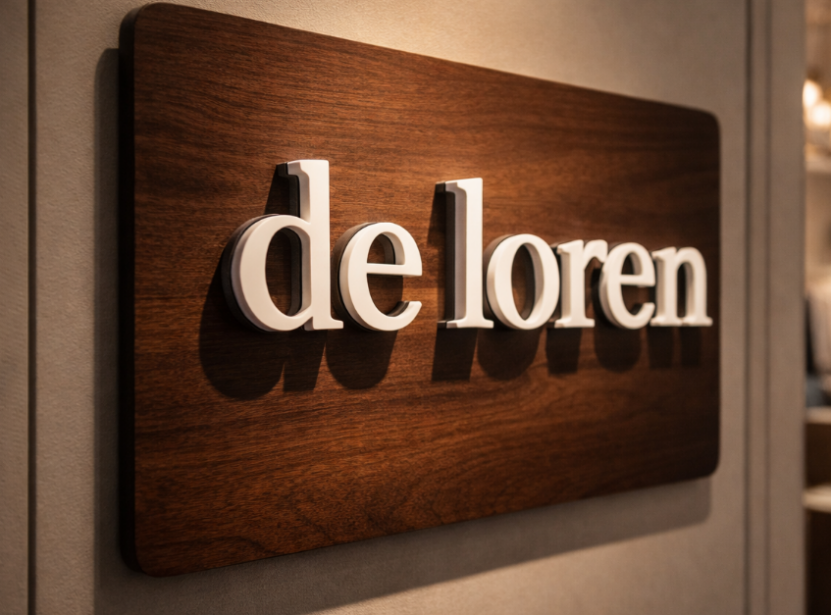
- Metal-Effect Laminates: Specialized plastics look like brushed gold or silver but cut easily with a CO2 laser. This provides a “corporate” look at a fraction of the weight and cost of real metal.
- Natural Hardwoods: Walnut, Cherry, and Oak offer a timeless, premium feel. Engraving deep into these woods creates a beautiful, burnt-contrast look.
- Mixed Media: Don’t be afraid to combine. A wooden base with raised acrylic letters creates a “3D” effect that captures shadows and looks expensive.
2. Master the “3D” Layering Technique
Flat signs can easily blend into the background. To create high-impact signage, you need depth.
The Standoff Method: Instead of engraving a logo directly onto a backplate, cut the logo out of a separate sheet of 6mm acrylic or wood. Use sign standoffs (metal spacers) to mount the sign 1–2 inches away from the wall. This creates a floating effect and professional shadows.
The Inlay Method: Cut a shape out of your background material and then cut the exact same shape out of a different colored material. Fit them together like a puzzle for a perfectly flush, high-end finish.
3. Design for Readability and Contrast
A beautiful sign is a failure if it can’t be read. When designing in software like LightBurn or Illustrator, keep these rules in mind:
- Stroke Weight: Ensure your font isn’t too thin. Extremely thin scripts may look elegant on screen but can become fragile or lose impact when cut.
- The Color Rule: Use high-contrast pairings. Dark walnut wood pairs perfectly with white or gold acrylic lettering. Frosted acrylic looks best against dark-colored walls.
- Kerning: When cutting individual letters, pay close attention to the spacing. Letters that are too close may “bleed” together visually from a distance.
4. Advanced Finishing Touches
What separates a hobbyist sign from a professional one is the post-processing.
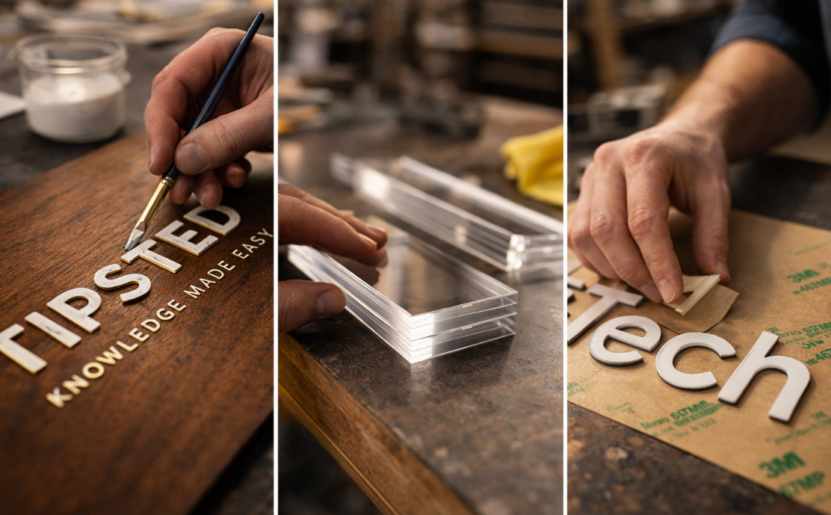
- Paint Filling: Engrave your design deeply into wood or acrylic, then fill the cavity with acrylic paint or gold leaf. Wipe away the excess for a crisp, multicolored look.
- Edge Polishing: If cutting thick acrylic, use a slower speed and higher frequency to achieve a “flame-polished” clear edge directly out of the machine.
- 3M Adhesive Backing: Apply 3M 467MP adhesive backing to your material before cutting. This turns your laser-cut letters into high-strength stickers, making installation perfectly aligned and mess-free.
5. Integrating Lighting
Impact is doubled when you add light. Because laser-cut acrylic diffuses light beautifully, you can create “Halo” effects.
- Edge-Lit Signs: Engrave your logo onto clear acrylic and slot it into an LED base. The light will catch only the engraved areas, making your design “glow” in mid-air.
- Backlit Channel Letters: Use your laser to cut the frame for “box” letters and hide LED strips inside.
From Signs to Solutions
Making high-impact signs isn’t just about owning a laser cutter; it’s about understanding how light, material, and depth interact. By moving away from “flat” engraving and toward layered, mixed-material designs, you can charge a premium and provide your clients with a landmark piece of branding.
Ready to start your next signage project?
Pro Tip: Always create a small-scale “proof” or prototype using cheap cardboard or scrap MDF before cutting into expensive 12mm acrylic or premium hardwoods!