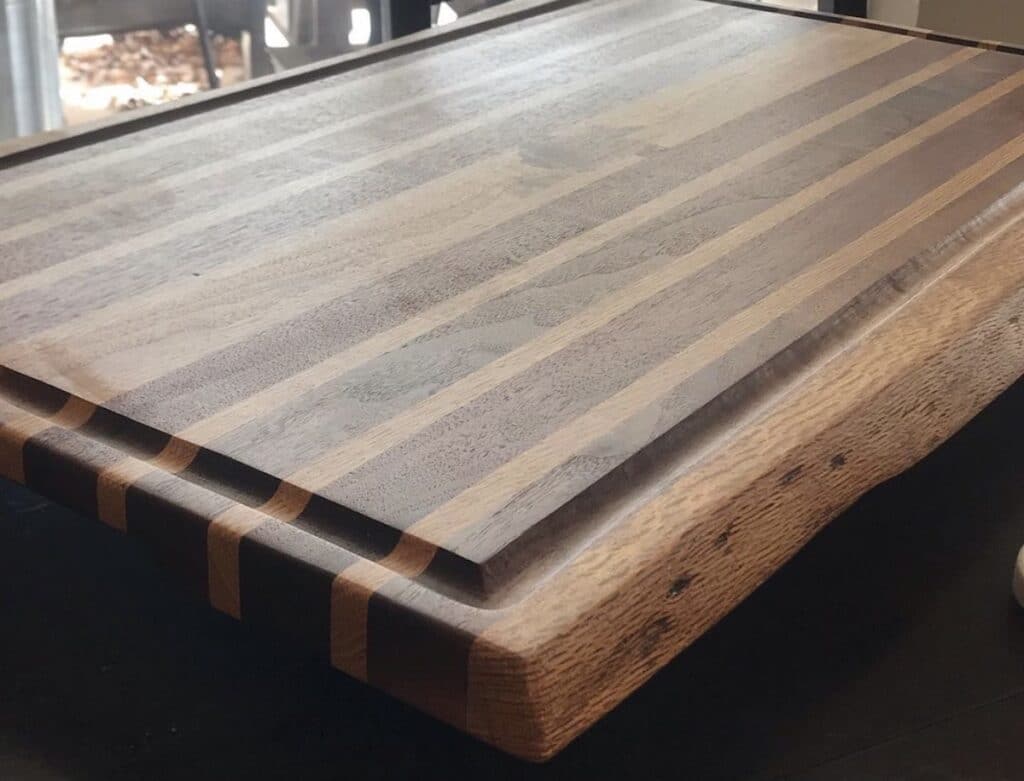
Building a cutting board from scratch involves turning raw wood into something both useful and long-lasting. This process offers a rewarding challenge for anyone looking to add a personal touch to their kitchen.
In this article, we will guide you through the process step by step, so you can create your own custom cutting board that stands the test of time.
Here Are the Key Steps
- Select your wood
- Cut the wood into strips
- Arrange the strips
- Dry fit the pieces
- Apply glue
- Clamp the board
- Let It Dry for 24 Hours
- Trim the Edges
- Plane or Sand the Board
- Round the Edges
- Apply Oil
1. Select Your Wood
Choosing the right wood is crucial for creating a durable cutting board. Hardwoods are best due to their density and resistance to moisture.
- Maple: Closed-grain, budget-friendly, resists bacteria and staining, and widely used.
- Walnut: Darker color, slightly softer than maple but durable, great for visual contrast.
- Cherry: Warmer tones, softens over time but still reliable, smooth grain.
Avoid Softwoods like pine or cedar—they are too porous and prone to damage.
Grain Orientation
- End-grain: Gentle on knives, more durable but harder to make.
- Edge-grain: Easier to build, shows knife marks more easily.
Tip: Ensure your wood is kiln-dried to prevent warping. Avoid oily woods like teak, which can interfere with finishing.
2. Cut the Wood
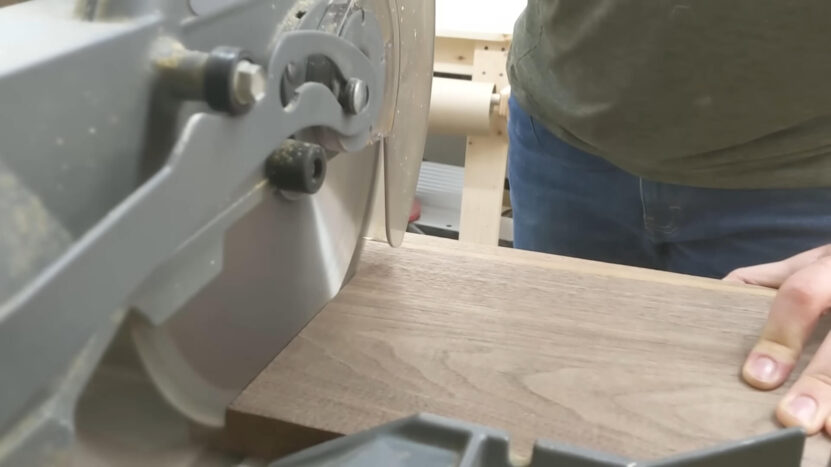
Once you have selected the right wood, the next step is cutting it into uniform strips or blocks. Precision at this stage is key to ensuring a smooth assembly.
- Use a table saw or miter saw: Cut the wood into strips roughly 1½ inches thick.
- Ripping down boards: If using larger planks, rip them down to size for easier handling. For edge-grain boards, ensure the pieces are consistent in width.
Tips
- If you don’t have a table saw, you can buy pre-cut 1×2 or 1×3 boards to simplify this step.
- Ensure all pieces are cut evenly for a smoother assembly later on.
Here you can read more about pallet projects for beginners.
3. Arrange the Strips
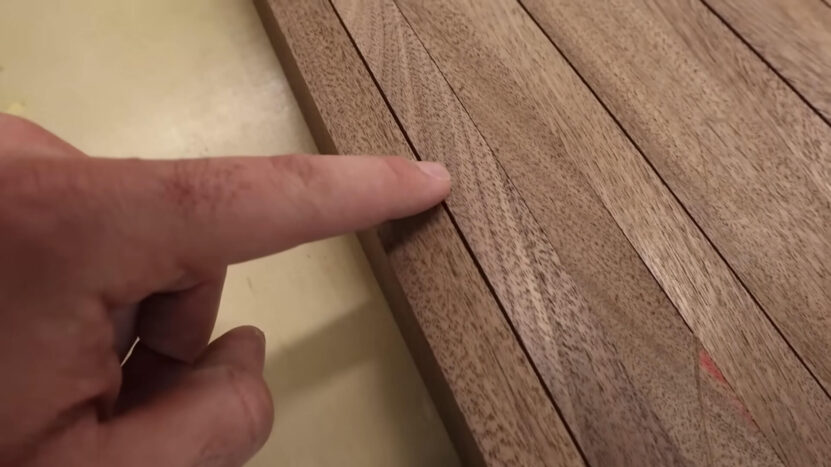
After cutting, it’s time to arrange the wooden strips for the cutting board. Proper layout ensures both visual appeal and structural strength.
- Face the best side up: Arrange the strips with their most visually appealing sides facing up.
- Align the grain: Make sure the grain pattern flows consistently across the board for a uniform look.
- Dry fit before gluing: This allows you to check the alignment and fit, making adjustments as needed.
Tip: Mark the pieces with a pencil during the dry fit so that you can quickly align them when it’s time to glue.
4. Dry Fit the Pieces
Before gluing, a dry fit ensures all the wood pieces align perfectly and helps you avoid mistakes during the actual glue-up.
- Check for proper alignment: Lay the strips out without glue and ensure there are no gaps between them.
- Adjust as needed: If any pieces are uneven, sand or trim them for a snug fit.
- Mark the layout: Once satisfied with the arrangement, mark each piece to ensure you can quickly reassemble them during gluing.
Tip: Do a full clamp test during the dry fit to make sure your clamps can hold everything securely without shifting.
5. Apply Glue
After the dry fit, it’s time to glue the strips together. Proper glue application is crucial for creating a strong, seamless bond between the pieces.
- Use wood glue: Apply a generous amount of wood glue to the edges of each strip. Titebond II or similar waterproof glues work well for cutting boards.
- Spread glue evenly: Use a glue brush or your finger to ensure full coverage on each edge.
- Work quickly: Once you start applying glue, you need to assemble and clamp the pieces fast before the glue starts setting.
Tip: Wipe off any excess glue that squeezes out with a damp cloth before it dries, making cleanup easier later.
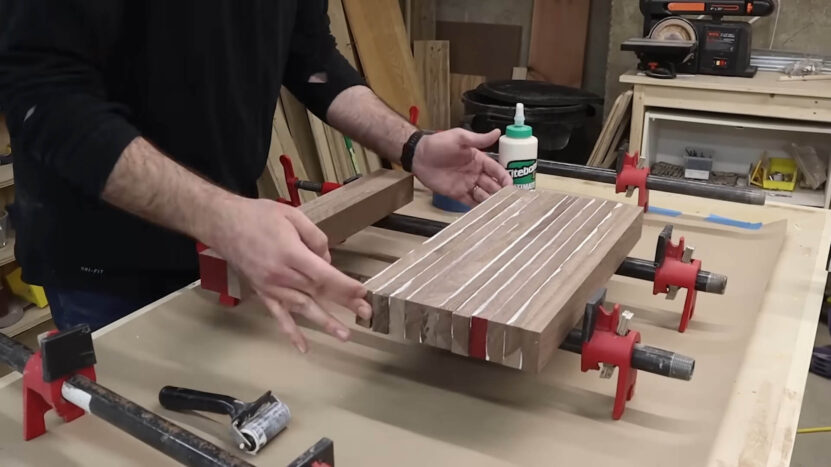
6. Clamp the Board
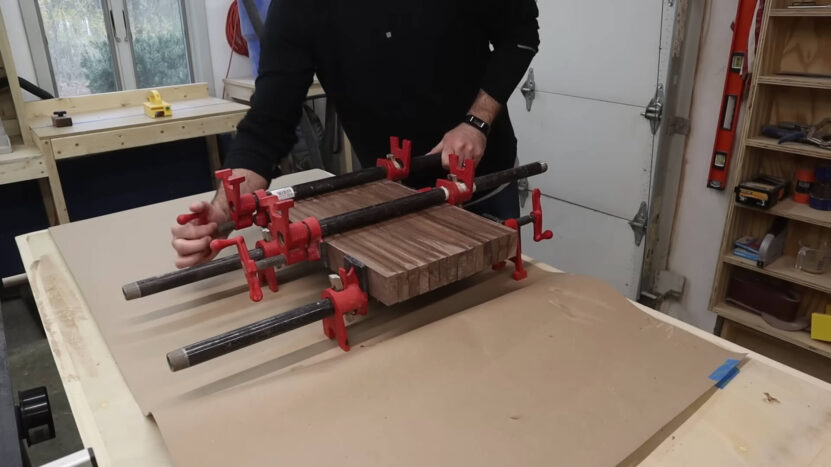
After applying glue, clamping the board securely ensures the pieces bond properly and stay aligned.
- Use multiple clamps: Place clamps evenly across the board to apply even pressure. Bar or pipe clamps are recommended for larger boards.
- Add cauls if necessary: If the board is prone to bowing or warping, use cauls (straight boards clamped on the top and bottom) to keep it flat.
- Tighten gradually: Apply pressure slowly and evenly across all clamps to avoid shifting.
Tip: Use a damp cloth to wipe off excess glue while clamping. Allow the board to dry for at least 24 hours for a strong bond.
7. Let It Dry for 24 Hours
After clamping, it is essential to give the glue time to fully cure. Rushing this step can weaken the bond between the wood pieces.
- Leave the board clamped for at least 24 hours: This allows the glue to fully set and ensures the board is strong and durable.
- Do not disturb the clamps: Moving the clamps too soon can cause the pieces to shift or lead to weak joints.
Tip: If you have the time, leaving it for 48 hours can provide extra assurance of a solid bond. No need to rush.
8. Trim the Edges
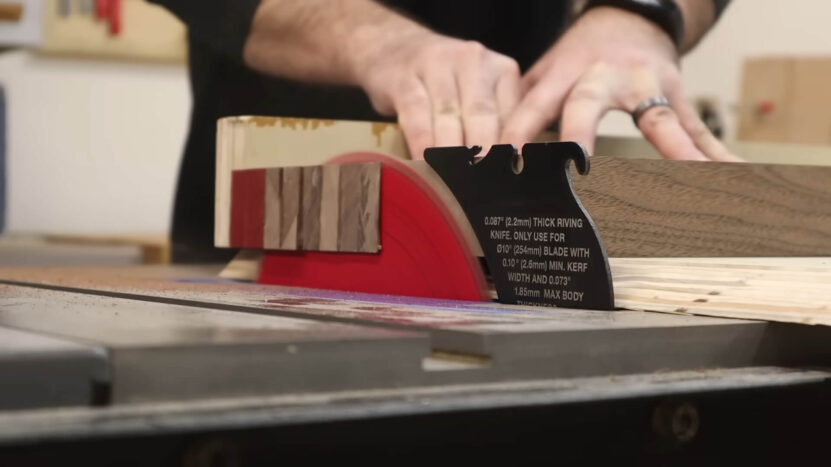
Once the glue has fully dried, you need to trim the edges of the cutting board to square it off and ensure clean lines.
- Use a table saw or miter saw: Trim all four edges to create a clean, even shape. If any pieces stick out, carefully cut them to align with the rest of the board.
- Check for squareness: Ensure the corners are perfectly square by using a carpenter’s square or measuring tool.
Tip: Trim a small amount at a time to avoid cutting too much off. This will help maintain the overall size and shape of your board.
9. Plane or Sand the Board
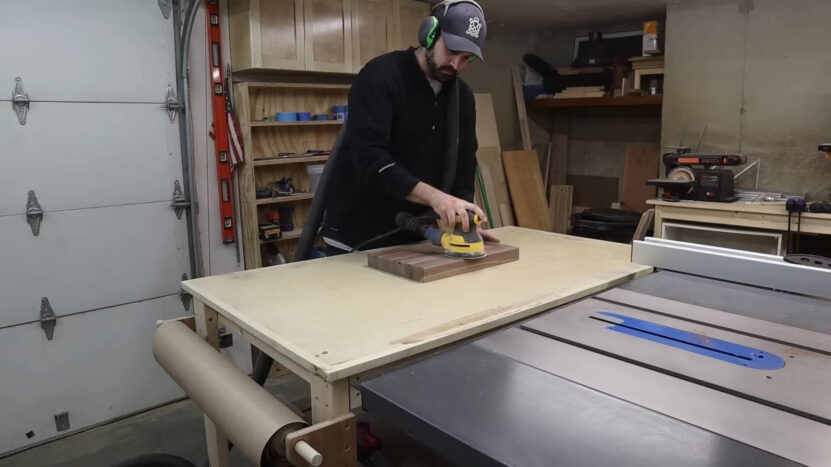
Now that the board is trimmed, it’s time to flatten and smooth the surface. This step ensures your cutting board is even and ready for use.
- Use a planer if available: Run the board through a planer to smooth both sides and remove any high spots.
- If no planer, use a belt sander: Start with coarse grit (around 80) and work your way up to finer grits (220 or higher) to create a smooth surface.
- Check for flatness: Use a straight edge to ensure both sides are perfectly flat.
Tip: Be patient and sand evenly to avoid creating uneven spots. Always sand in the direction of the grain for the best results.
10. Round the Edges
Rounding the edges of the cutting board improves its comfort and usability, making it easier to handle.
- Use a router with a round-over bit: This tool will quickly and evenly round the edges for a professional finish.
- Hand-sanding option: If you don’t have a router, you can round the edges with sandpaper by hand. Start with a medium grit and work your way up for a smooth finish.
- Consider finger grips: For added functionality, consider routing or sanding finger grips into the sides of the board for easier handling.
Tip: A 1/8-inch or 1/4-inch round-over bit is commonly used to create a smooth, comfortable edge.
11. Apply Oil
The final step is to apply a protective finish to your cutting board. This not only enhances the wood’s appearance but also protects it from moisture and bacteria.
- Use food-grade mineral oil: Apply a generous coat of mineral oil, letting it soak in for about 15-30 minutes. Repeat the process until the wood stops absorbing oil.
- Optional wax finish: For extra protection, consider adding a beeswax and mineral oil blend after the initial oiling. This creates a slight waterproof barrier.
- Wipe off excess: After letting the oil soak in, wipe off any excess with a clean cloth, and allow the board to dry for at least a few hours or overnight.
Tip: Regular maintenance is key. Reapply mineral oil whenever the board looks dry, typically every few months depending on usage.
FAQs
Can I use different types of wood for one cutting board?
Yes, you can combine different types of hardwood like maple, walnut, and cherry to create unique patterns. Just ensure all the woods have similar hardness and grain structure for a consistent, durable board.
How thick should a cutting board be?
A cutting board should generally be between 1 to 2 inches thick. Thicker boards offer more durability and stability, especially for heavier kitchen tasks.
Can I add handles to my cutting board?
Yes, handles or finger grips can be added using a router or by cutting out sections along the sides. They make the board easier to lift and move.
How do I clean my cutting board after use?
Clean your cutting board with warm, soapy water and a soft cloth or sponge. Avoid soaking it in water, and never put it in the dishwasher, as this can cause the wood to warp or crack.
What is the best oil to use on a cutting board?
Food-grade mineral oil is the most common and effective choice for cutting boards. Avoid vegetable oils, as they can go rancid over time. You can also use a blend of beeswax and mineral oil for additional protection.
How often should I re-oil my cutting board?
You should reapply mineral oil every few months or whenever the board appears dry. Frequent use may require more frequent oiling to keep the wood moisturized and protected.
Can I cut raw meat on my wooden cutting board?
Yes, but it is recommended to use separate boards for raw meat and other food items to avoid cross-contamination. Clean thoroughly after each use with hot, soapy water.
Last Words
Now that you know every step, it is time to start building your cutting board and see your efforts come to life. Enjoy the process and the pride that comes with creating something useful by hand. When it is finished, you will have a piece that will serve you well for years to come.